The Turkey turned out wonderfully though so I thought I'd post a detailed recipe and instructions for those intending to cook one at Christmas or future celebrations. The brining really is the key to a moist no fail turkey, so take the time to do this step the night before you roast.
This is a serious commitment of time; you should be prepared to defrost properly and cook all day.
Celebration Turkey
Before you start
I've listed special equipment below; don't skimp on this as you will only regret it.
1 large reinforced roasting tray (preferably with handles)
1 pastry brush
1 clean garbage bag
an esky/cooler
ice packs or ice
meat lacers
natural twine or kitchen string
- Start with buying a good quality naturally raised Turkey; Butterball offer a guide on how much you need per person but my experience of buying turkeys is that the smallest one you can buy will still be too much.
- Preferably buy the turkey fresh, if not leave adequate time to defrost safely - usually multiple days in a refrigerator.
- Not thawing correctly is the biggest problem people face when attempting to bake a turkey for the first time.
- When you are ready to begin brining remove the turkey from its packaging and be sure to remove the neck and giblets that are housed inside the cavity - these can be used to make stock if desired
Brining

1 bottle dry white wine
peel from 1 large lemon
2 sprigs fresh Rosemary
1 cup salt
20 litres of water
- The night before your celebration begin the brining process; you want the turkey to brine overnight to take on as much liquid as possible and ensure a moist bird after baking.
- In a saucepan combine 1 litre of water with the salt, lemon peel and herbs
- Heat and stir until the salt has dissolved and take off the heat
- Allow the salt mixture to return to room temperature before exposing the meat to the brine as otherwise you risk bacterial growth
- Line the bottom of your cooler with ice or ice packs and then place the clean plastic bag inside the cooler. This will prevent the brine and meat from touching the cooler and also makes for easier draining of the brine.
- Rinse the turkey with water including inside the cavity and then pat dry with paper towels
- Add the salt mixture, wine and half the water to the cooler then carefully lower the turkey into the mixture
- Add enough water to cover the turkey and then muddle the brine with your hands to ensure even distribution of the wine and salt
- Tie the bag closed leaving as little air as possible inside; then place more ice on top of the bag and close the lid
- Leave overnight in a cool dark place - preferably 8 - 10 hours
Stuffing

1/4 cup salt for the cavity (do not include in the stuffing)
peel from 1 large lemon
2 sprigs fresh rosemary
1 white onion
1 egg
1/2 cup milk
1/4 cup toasted almonds or pine nuts
- Pull the brining bag out of your cooler and move to the sink, cut the bag to release the brine being careful not to cut the skin of the turkey
- Move your turkey to the baking tray and pat try with paper towels, leave for 15-20 minutes to dry while you prepare the stuffing mix
- Use a blender or food processor to prepare breadcrumbs with the bread - stale bread is the most effective
- In a bowl combine the dry ingredients - nuts, peel, rosemary, bread
- Chop or mince the onion and add to the bowl
- In a small bowl beat the egg and milk and then add to the dry ingredients
- Mix through thoroughly with your hands until the stuffing is moist
- Taking small handfuls of salt spread liberally inside the cavity of the bird, being sure to rub salt on as much of the inside as possible.
- Place the moist stuffing inside the cavity of the bird; this should be very loosely filled with 1-2cm of space between the stuffing and the top of the cavity as the stuffing will expand during cooking
Roasting
1 litre water
1/4 cup salt
1/2 cup olive oil
2 sprigs fresh Rosemary
Juice from 1 lemon (used after roasting not during cooking)
1 fresh turkey
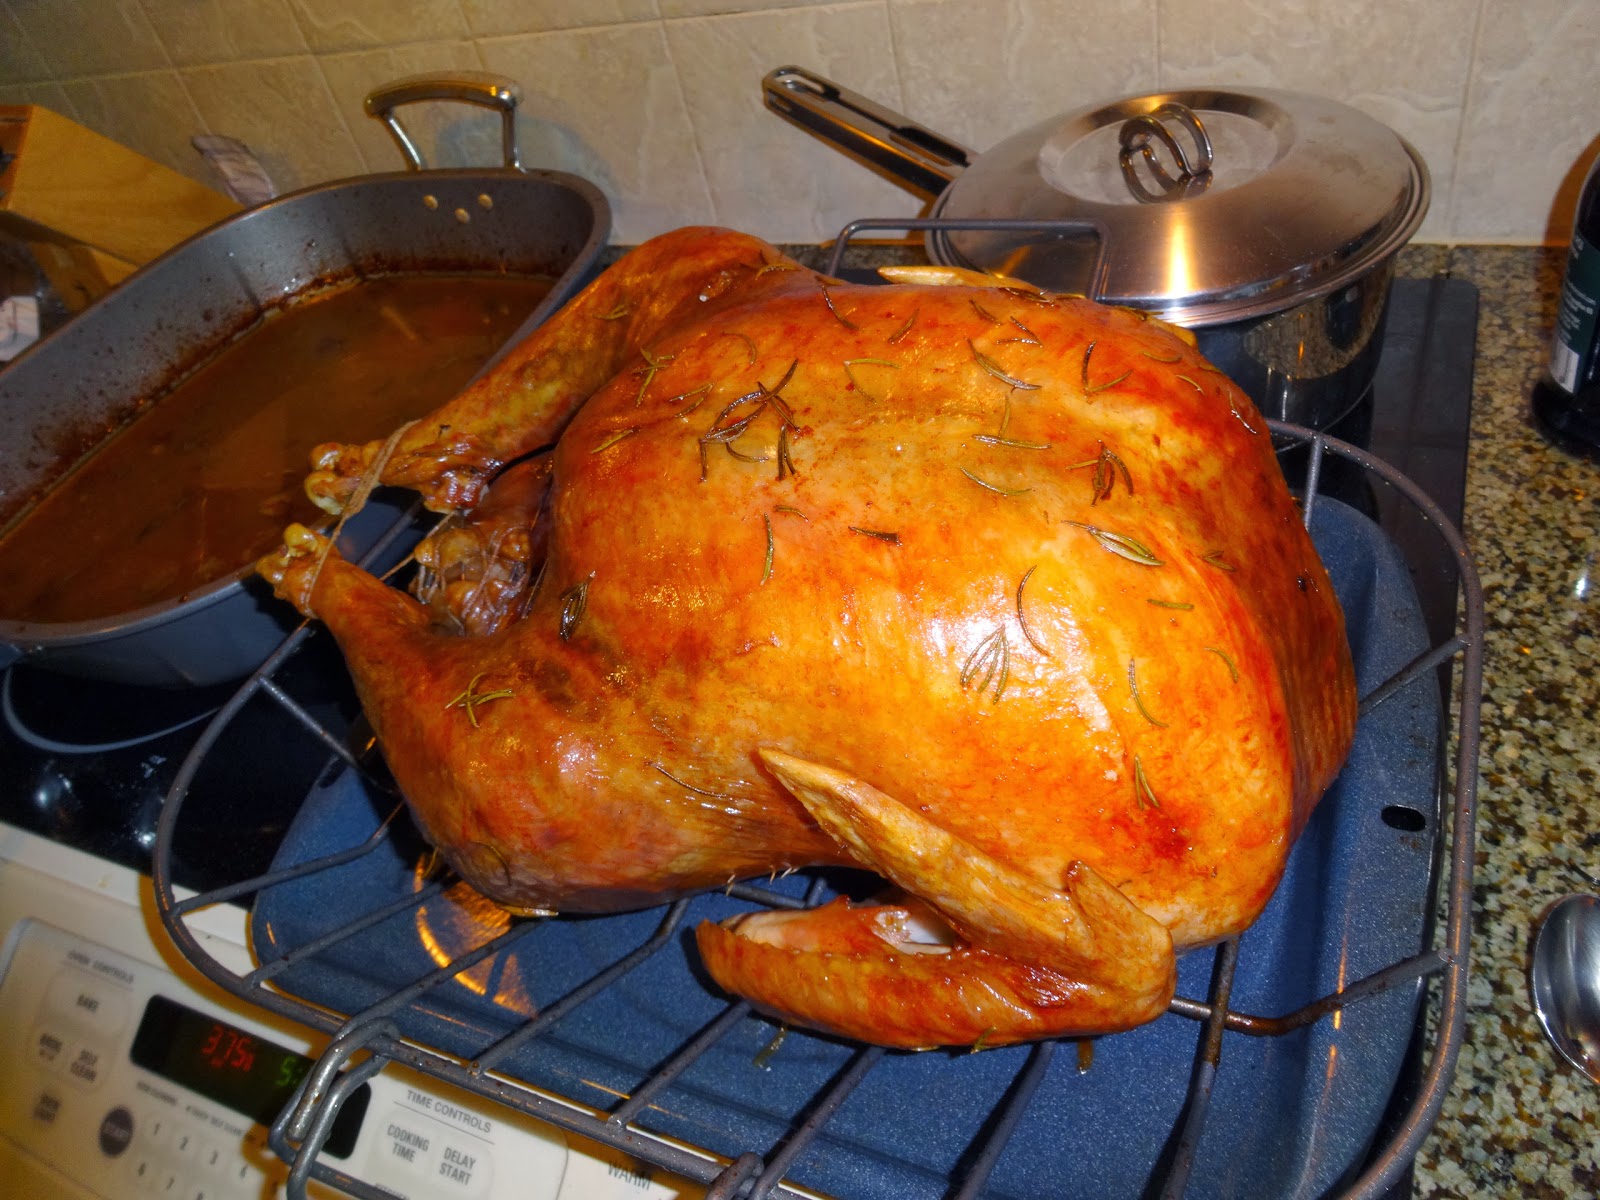
- Preheat your oven to 220C/425F while you truss and baste the turkey
- You may want to place some paper towel under the turkey to prevent slipping during the trussing process

- Turkey lacers are amazing; be sure to pick some up they ensure an easy process and professional looking truss. If you can't find any small skewers will also work
- Carefully pierce across the cavity using the turkey lacers. Using around 1m of natural twine lace the cavity closed like a corset then use the end of the twine to tie the legs together

- Baste the skin liberally with olive oil using a pastry brush to spread and get into unusual corners
- Sprinkle the moist skin with plenty of salt - remember that this is large animal so do not be alarmed if you feel as though you are using a lot of salt
- Break the rosemary into pieces and spread across the bird

- Pour a cup of water into the bottom of the baking tray - this will evaporate during baking to help with moisture
- Put the turkey into the pre-heated oven

- After 1 hour take the turkey out of the oven (leaving the oven on). Rebaste the skin of the turkey by dipping your pastry brush in the pan juices and spreading over the skin of the turkey
- Repeat this process for every hour of baking; replenishing the water in the bottom of the pan if it has evaporated
- In the last hour of baking baste with additional olive oil to ensure a crisp brown skin
- The length of time you should cook the turkey will vary by the weight of the bird; you should also add 30 minutes of cooking time if you have stuffed the turkey.
- As a guide this 19lb (8.6 kg) turkey took around 6.5 hours to cook

- Much of the fat of the turkey will bubble under the skin during roasting - it is important that this is returned to the meat so adequate resting time is given.
- Pour the juice of the lemon over the turkey while it is still warm. It will infuse into the skin and add a stronger citrus flavour
- Leave the turkey under a foil tent for 60 mins before serving. You can use this time to prepare any side dishes
Gravy

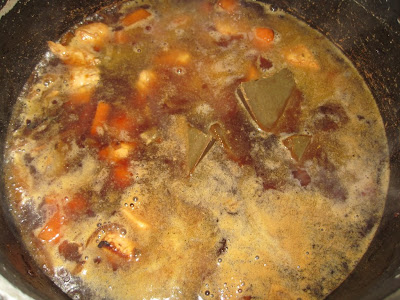
Pan drippings
2 cups stock
1/2 cup flour
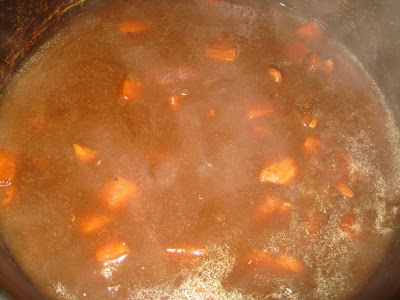
While the turkey is resting take the roasting pan with the drippings and place it on a stove at medium heat
- Make a slurry using the flour and 1/2 cup of stock; fry the flour into the drippings
- Slowly add stock until the desired consistency is reached stirring continuously
- Take off the heat and serve

Let the head of the household carve and enjoy your delicious roast turkey, stuffing and crispy skin.

Why not top it all off with a seasonal dessert? You deserve a treat after all that cooking!