Showing posts with label recipe. Show all posts

Sunday, February 26, 2023

Recipe: Stilton and Walnut Biscuits

 <PIC TBD>

  1. Ingredients:

    80 g walnuts 120 g unsalted butter, diced 340 g Stilton, crumbled 200 g plain flour, plus extra for dusting ½ tsp dried thyme ½ tsp fine sea salt ¼ tsp ground black pepper 1 medium egg, beaten

    Method

  • Chop the walnuts and set aside
  • In a mixing bowl put 120g of unsalted butter and 340g of crumbled Stilton and mix.
  • Add 200g of flour, ½ tsp dried thyme, ½ tsp fine sea salt, ¼ tsp ground black pepper and work the dough
  • Tip the dough on a lightly floured surface. Shape the dough into a log (approx. Ø 4 cm, 50 cm long).
  • Cut log in half, forming 2 x 25 cm logs, then set one aside. Distribute ½ reserved chopped walnuts over work surface.
  • Lightly brush log with beaten egg, then roll in walnuts until the whole log is covered. Repeat with remaining log and chopped walnuts.
  • Wrap logs in cling film and chill in fridge for 2-3 hours until firm
  • With a sharp knife, slice chilled dough logs into thin rounds (approx. 5 mm thick) and arrange on a tray. Bake for 10 minutes (180°C) then rotate trays and bake for a further 3-5 minutes (180°C) until evenly browned.2. In a mixing bowl put 120g of unsalted butter and 340g of crumbled Stilton and mix.
  • Tip: Pairs well with very strong jams (e.g.: onion, garlic). I made roasted garlic jam and it was nice pairing.

Tuesday, December 6, 2022

Recipe: Tantanmen - Spicy sesame ramen

Recipe: Tantanmen - Spicy sesame pork ramen (Serves 2)


Pork mince

  • 250 g pork mince
  • Sesame oil for frying
  • Mirin to taste
  • 2 tbspn soy sauce
  • 2 tbspn Doubanjiang
  • Optional: 1 tspn Shiro miso

Soup

  • 3 tbspn Chimajyan sesame paste
  • 1 tbspn Rayu Japanese chili oil
  • 1 tbspn Black Zhenjiang Vinegar (Optional)
  • 3 cups water
  • 1 cup chicken or pork bone broth

Noodle and toppings

  • 2 serves ramen noodle
  • Wilted greens (bok choy / spinach / mustard greens) 
  • 1 cup corn
  • Soft boiled egg 
  • Diced scallion
  • 1 tspn Beni Shoga red pickled ginger
  • Other toppings of choice: Menma bamboo shoots, cubed tofu, bean sprouts


Method : Pork
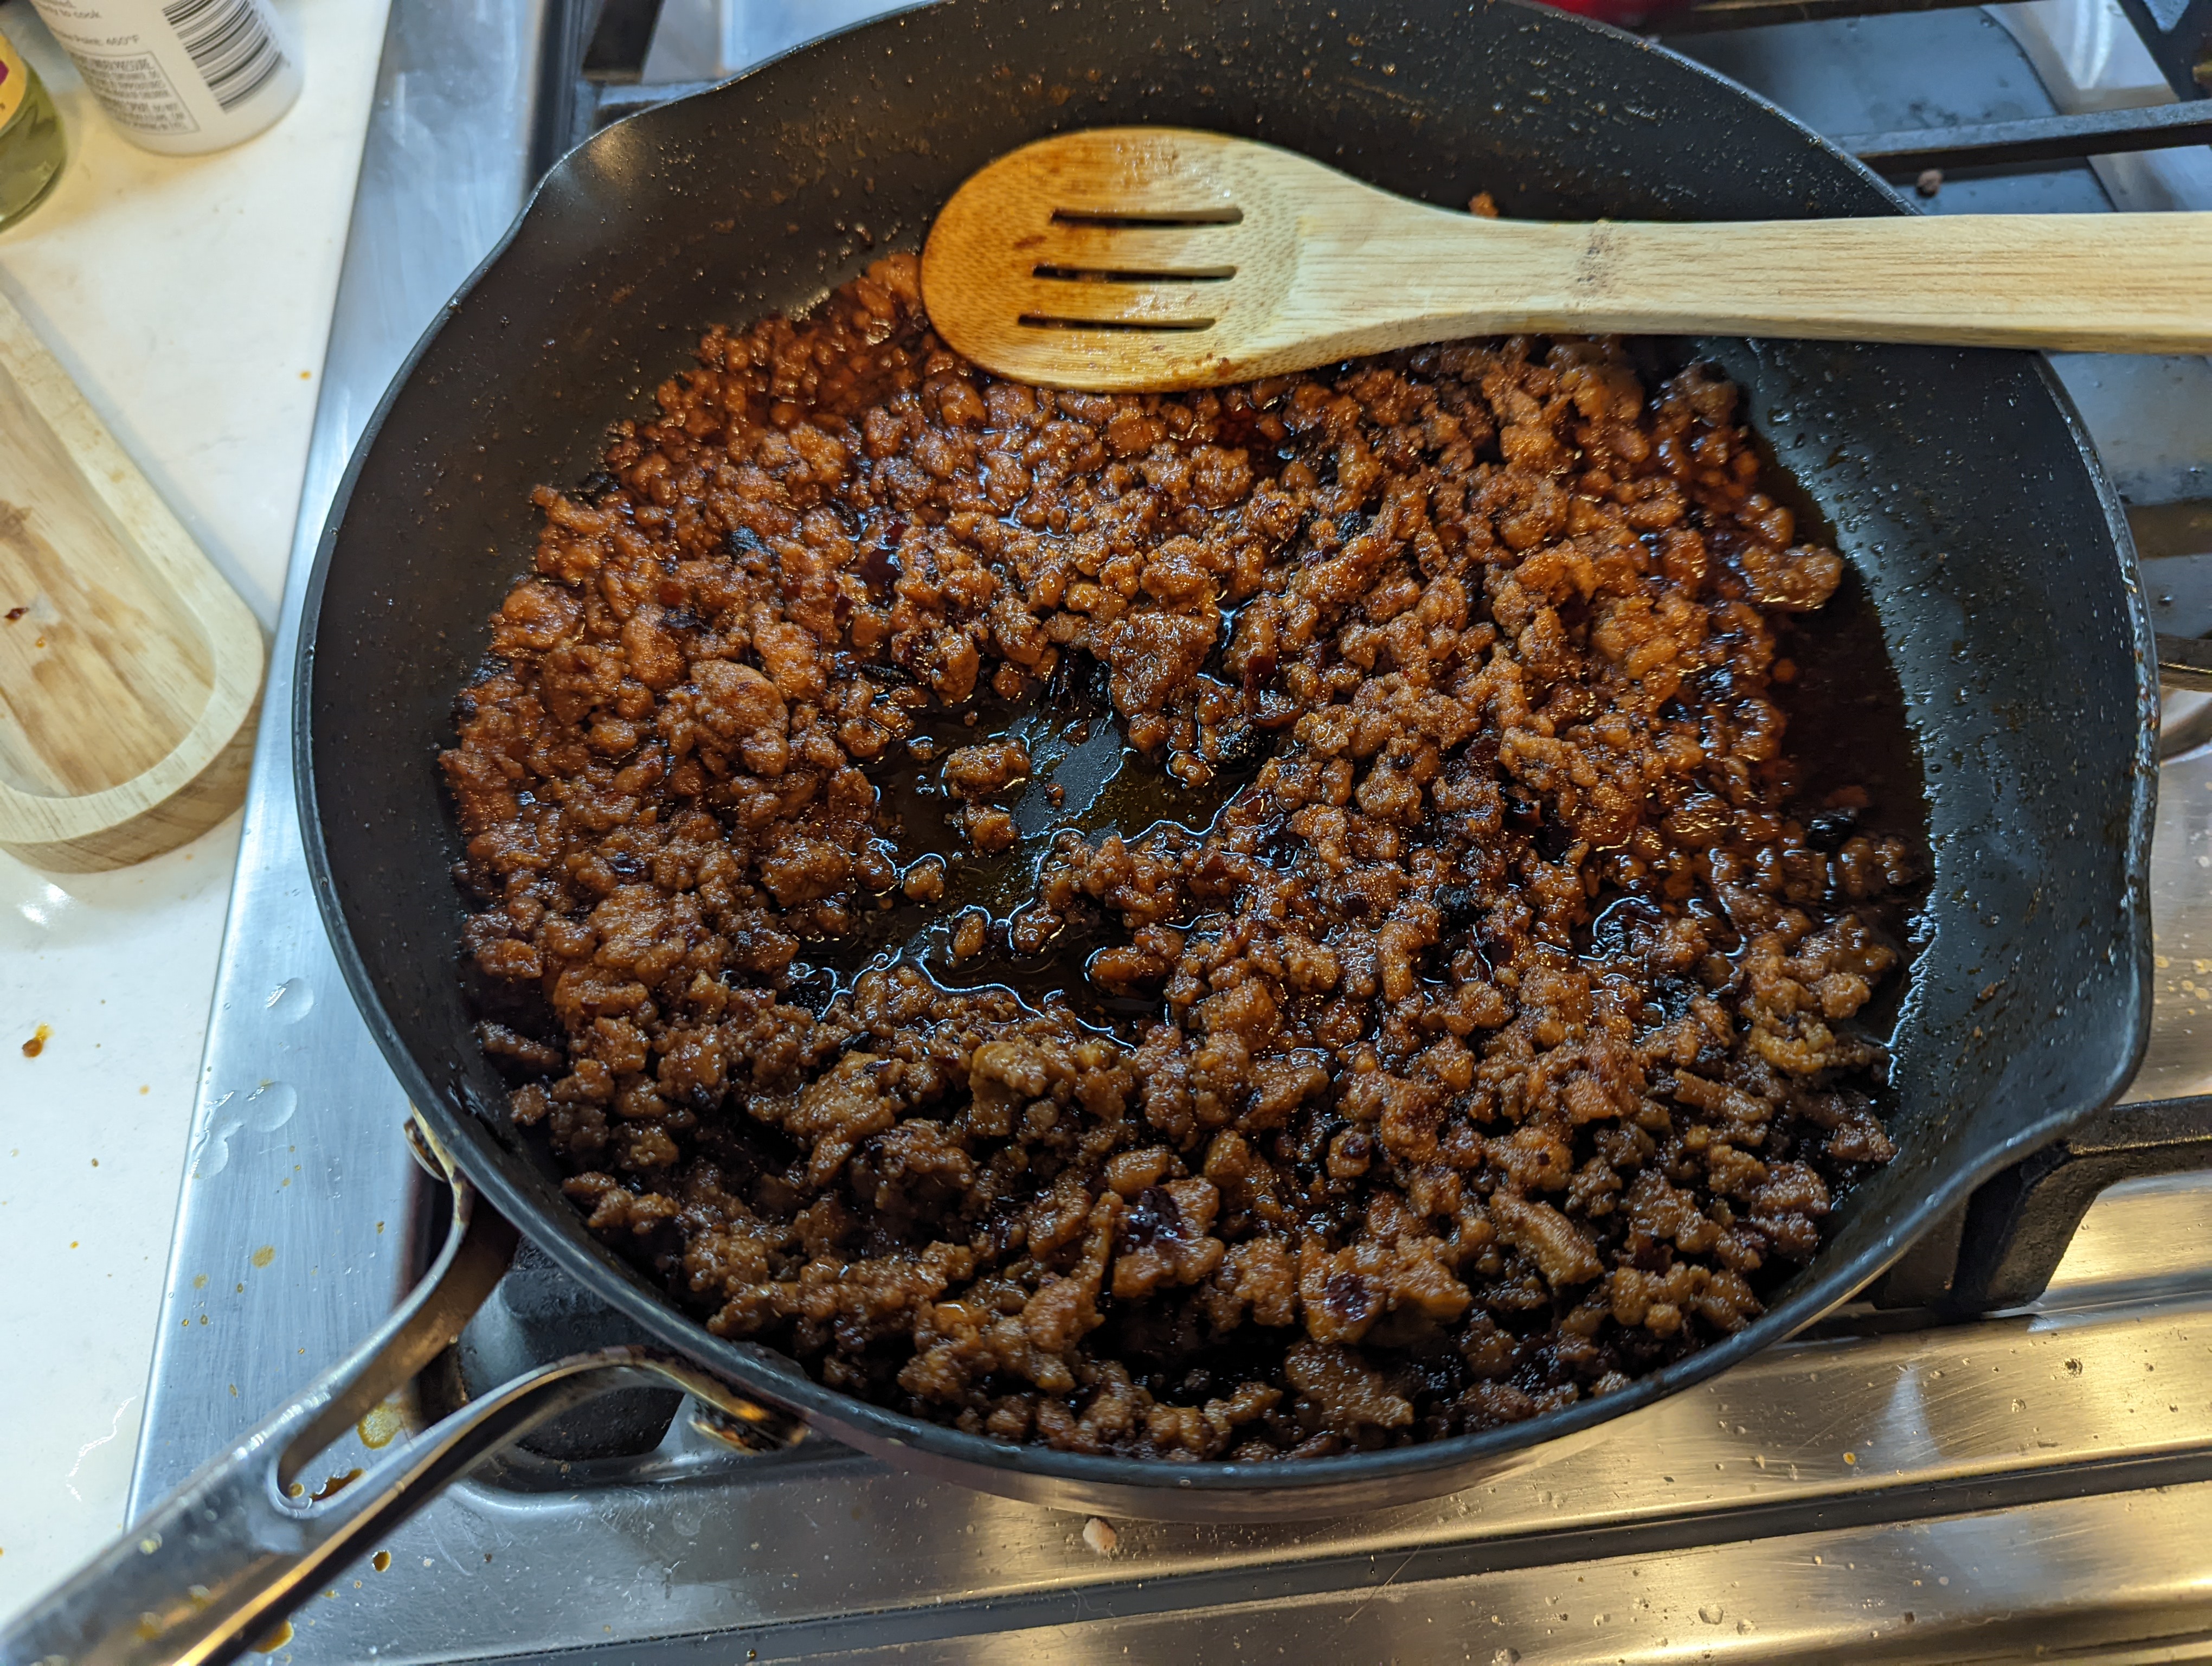
  • Heat the sesame oil in a pan and add the minced pork, fry until brown
  • Add the doubanjiang and soy and stir fry. 
  • Add Mirin 1 tbspn at a time until desired sweetness is reached
  • If desired add white (shiro) miso at this point to add even more umami
  • Turn the pork off the heat and set asside


Method : Soup

I cheat and start with a tonkatsu soup base because roasting bones is not my idea of a good time, however if you feel strongly about this please refer to this recipe for tonkotsu broth from Serious Eats and prepare 4 cups of liquid.


  • I am aiming for 1.5 - 2 cups of broth per person you can adjust the liquid levels to your tastes
  • Prepare your tonkotsu broth, if using a base then add 3 cups of water and 1 cup of bone broth per 2 people
  • Heat the broth while you prepare the sesame paste
  • In a small bowl combine the rayu hot sesame oil and roasted sesame paste, then add to the soup
  • Stir until well integrated and the soup has reached serving temperature
  • If desired more rayu or sesame paste can be added to taste or black (Zhenjiang) vinegar used to balance


Method: Noodle and toppings


  • Pre-boil eggs while preparing soup or earlier in the day, if desired season with tea or soy. Eggs can be set aside and served at room temperature as they will warm with the soup
  • Boil the noodles and greens until al dente then drain, spoon per person servings into ramen bowls
  • Cook corn and set asside
  • Cut or cube any other toppings into bite sized pieces that can be collected with a spoon and chopsticks
  • Spoon soup over the noodles until the noodles are almost covered (~1.5 - 2 cups)
  • Top the soup with pork, egg cut in half, vegetables and remaining toppings in a circle
  • Top the pork with scallions and / or beni shoga 
  • Remember ramen is designed to be customisable, add or remove toppings if my defaults are not to your taste
  • Serve with your favourite noodle bowls and anime =^.^=


One variation is to top with fried pork belly or chashu in place of the seasoned minced pork.


Sunday, April 11, 2021

Recipe: Hot Cross Buns

It always saddens me that Easter is not celebrated more in the US, especially when it's actually well aligned with Spring unlike how it was in Australia. Consequently that means it's actually very hard to find decent Easter Eggs and Hot Cross Buns. Thankfully husband has been hard at work on #pandemicbaking and so here's his recipe for future reference. 


Ingredients

3 tspns instant or rapid rise yeast
1/2 cup Castor sugar (Bakers' sugar)
1 1/2 cups Warm milk
4 1/4 cups bread flour
2 tsp cinnamon powder
2 tsp mixed spice (or pumpkin pie spice)
1/2 tsp salt
1 1/2 cups sultanas (golden raisins)
Zest of 1-2 oranges
1 egg
1/4 cup (35g) Extra bread flour

For Crosses 

1/2 cup flour
100 ml water

For Glaze 

1 tbsp apricot jam
2 tspn water

Method

  • Place flour, yeast, sugar, all spice, cinnamon, and salt in a large bowl. Briefly mix with stand mixer fitted with a dough hook.
  • Add butter, milk, egg, sultanas and zest.
  • Mix using a mixer or bread machine until a smooth elastic dough forms. 
  • Add extra flour if required, just enough so dough comes away from side of bowl when mixing
  • Rise 1 will  take anywhere between 30 minutes to 90 mins depending on temperature / humidity
  • Line a baking tray with paper or silicon mat
  • Punch dough to deflate and dust work surface with flour. Roll into a log to further deflate the air and cut into 12 equal pieces. 
  • Take one piece and press down with palm, then use your fingers to gather into a ball, then roll the dough briefly to form a ball.
  • Place the ball with the smooth side up on the tray. and repeat with the remaining doughsiSpray a pieceof cling wrap lightly with oil (any), then loosely place over the tray.
  • Rise 2 for 30 - 45 minutes or until 75% increased in size, preheat oven to 180 C (350F)
  • For the crosses mix flour and water until a thick runny paste forms and put into a piping bag then remove the paper and draw crosses onto the buns
  • Bake for 22 minutes, or until the surface is a deep golden brown then remove buns from the oven
  • Heat the jam and water in a pan or in the microwave and mix to combine, then brush onto the cooked buns to glaze
  • Allow to cool before serving 


Tuesday, June 23, 2020

Recipe: Keto trail mix bark (Dairy free / vegan / gluten free)


Ingredients


1/2 cup pecans
1/2 cup almond slivers
1/2 cup coconut shavings
1/4 cup sunflower seeds
1/4 cup no sugar added dried cranberries
2 tbspn coconut oil
120g block of high quality high cocoa 70 - 100% dark chocolate (eg. Ghirardelli, Lindt)


Method


  • You don't have to stick to the trail mix options I do, any combination of nuts, coconut and dried fruit you have on hand will do being mindful of carbs. 
  • Put all the nuts, seeds and dried fruit in a mixing bowl and get a small tray to prepare into. 
  • I use a fudge tray but you can pour spoonfuls onto a baking sheet or into cupcake pans if you don't have a small confectionary / slice tray
  • Break the bar of chocolate into pieces and melt in a microwave or double boiler, stir vigorously
  • Add the coconut oil and melt into the chocolate, stir again
  • Pour over the nut mix and combine well then pour or spoon into your pan
  • Refrigerate overnight or freeze for 2 hours
  • Turn out the block, it should come out easily due to the oil content but if not run hot water over the tray
  • Score the block before cutting this will help to make regular shapes and avoid shattering the chocolate
  • Cut into 24 pieces and then keep in an airtight container in the refrigerator (coconut oil will melt easily at room temperature so only take out when you're about to serve.
  • Nutrition is for entire tray, per piece of 1/24 of tray 85 Calories 3.6g Net Carbs, 2.8g Sugar


Sunday, June 21, 2020

Recipe: Coconut strawberry swirl popsicles (dairy and sugar free)


Ingredients


250g (1/2 lb) fresh strawberries

1/2 cup sugar free vanilla syrup 

1 can coconut milk

1 tbspn Balsamic Vinegar 


Tools


10 moulds with sticks


Method


  • This is not a long process, before you start make sure you have your popsicle moulds and enough flat space in your freezer to place them. 
  • I use Torani sugar free vanilla syrup for making sweets like this that do not bake, it ensures lack of graininess from powdered sweeteners. 
  • If you do not have such a thing in your house it's easy to replace with 1/4 cup spoon for spoon sweetener (Erythritol, Sucralose, Stevia) dissolved in 1/4 cup water with 2 tspns vanilla essence
  • Wash and half strawberries


  • Add to a small blender with half the sugar free vanilla syrup and the vinegar
  • Blend until smooth then strain into a small jug (pitcher) to remove the seeds


  • In another slightly larger jug (pitcher) add the coconut milk and the remaining vanilla syrup, stir until well combined
  • Pour or spoon alternating layers of the strawberry and coconut mixtures into your moulds, 2 tbsps at a time is good. 


  • Your mixtures may penetrate each other due to density differences you will not end up with exactly layers, to get that swirled look take a skewer and run in a figure 8 or circular motion in the mould
  • Place in freezer for 8 hours before consumption. If you make this at lunch or before it should be ready for a healthy after dinner treat
  • Nutrition for 10 serves below; 87 calories, 3.9g net carbs per serve


Monday, May 11, 2020

Recipe: Country Gravy (Sausage Gravy)

This is one of those American staples that I really like; usually found in Southern restaurants and breakfast places. I discovered it's incredibly easy to make at home, great for isolation brunch. Best served over warm plain biscuits but goes great with chicken fried steak or meatloaf too.


Ingredients


1 lb (450g) breakfast sausage
1/3 cup flour
2 cups milk
1 cup water
1 tbspn freshly ground black pepper

Method

If you can find breakfast sausage in packs or plastic tubes this is best, if not cut open the casings on fresh pork sausages. 


Add the sausage to a saucepan and fry until brown, you might need to break up the meat into small chunks. You don't need oil to fry as there's plenty in the sausage itself. Once browned add the pepper and fry to distribute. Add the flour and stir until all the meat is well coated. 


Combine the water and milk in a pourable container like a measuring jug (pitcher). Add in small amounts and stir heavily to combine. 


The flour and meat fat will form a thick white sauce, keep adding till all the liquid is gone then taste. You can add more milk or pepper to taste if desired but this amount gives the consistency I like. Continue to stir on a medium heat until the desired consistency is reached. 


For serving suggestion pour over freshly baked biscuits, being careful to understand portion control.  1 biscuit with gravy can be quite heavy, decide if you want more *after* you've eaten the first. 


The gravy goes well with Southern comfort classics like meatloaf and fried chicken. Comfort food yum!

Monday, January 7, 2019

Recipe: Edmond's Rich Christmas Cake (with added decoration instructions)

Growing up in a Commonwealth country means that Christmas is filled with warm, rich, stodgy desserts that make no sense in the Summer time but are delicious anyway. Upon moving to the US I discovered to my horror that my beloved Christmas fruitcakes were despised by many. This is my favourite Christmas Cake recipe from the Edmond's Cookbook a New Zealand kitchen staple. Hopefully it will change your mind about this rich and impressive dessert!


Rich Christmas Cake

1¾ cups orange juice
¾ cup dark rum or brandy
2 Tbsp finely grated orange zest
500g raisins
2 cups sultanas
2 cups chopped dates
150g crystallised ginger, chopped
150g mixed peel
150g glacé cherries, halved
½ tsp vanilla essence
¼ tsp almond essence
2 tsp finely grated lemon zest
1 cup blanched almonds
500g currants
2½ cups cake flour
½ tsp baking soda
1 tsp cinnamon
1 tsp mixed spice
½ tsp ground nutmeg
250g butter
1½ cups brown sugar
2 Tbsp treacle or golden syrup
5 eggs, beaten

To decorate:

1 yield of my marzipan recipe (or 500g storebought)
500g fondant icing
2 tbspns apricot jam

Method

(Original copy)

Place the orange juice, rum and orange zest in a saucepan and bring to the boil. Remove from the heat and add the dried fruit. Cover and leave the fruit to soak overnight.


The next day stir the essences, lemon rind and almonds into the fruit mixture. Sift the flour, soda and spices into a bowl.


Preheat the oven to 150ºC. Line a deep 23cm square tin with baking paper and tie a double layer of brown paper around the outside of the tin.

Cream the butter, sugar and treacle until light and fluffy and add the eggs a little at a time, beating well after each addition.


Fold in the sifted ingredients alternately with the fruit mixture.
Scoop the mixture into the prepared tin then wet your hand under the cold tap and smooth the surface.
Bake for 4 hours or until an inserted skewer comes out clean. Cool in the tin on a wire rack, covered with a clean cloth


Wrap in tinfoil and a cloth and store in a cool place.


If you want a more flavoursome cake pour 2–3 tablespoons of brandy or sherry over the cake after it has cooled and before storing it. If the top is crusty, make little holes with a skewer or toothpick to help the alcohol soak in. 

(Goth Gourmande's additions)
  • I like to bake 1-2 single serve cakes as a test of the mixture, using single serve bundt tins these should take ~45 mins to cook
  • This cake is huge and it is hard to find Christmas cake tins this large in the US, consider halving the mix and using a 9 inch spring form pan or splitting into two cakes. In the above picture this recipe has yielded a 9 inch cake, a 7 inch cake and 3 single serve bundt cakes
  • Leave the cake to cool in its entirety before attempting to remove from the tin, preferably overnight
  • I recommend cooking the cake at least a month before serving and pouring brandy or whiskey on to the cake each week to make it moist and let the flavours develop

To ice and decorate

You can choose to use more glazed dried fruit to top the cake but I prefer traditional marzipan and fondant icing and it lets you create a really festive look! 


Start by making (or buying) marzipan, I've provided a recipe for you that I use regularly. Need into a smooth consistency and then cut into portions that match the division of the cake batter. 


We want to glaze the cake with the jam to get the marzipan to adhere to the cake. If you don't like apricot then grape or peach is also suitable but avoid berry jams which clash with the dried fruit. Heat 2tbspns of jam with 1 tbspn of water in the microwave or stove, enough to be malleable.


Set your cake on a cake circle for easy transport, this allows you to carry the cake using the support instead of having to touch the cake itself and makes for easy transfer to a decoratoring wheel or cake tin. Then using a pastry brush glaze the cake all over with the warm jam mixture. 


For a smooth finish you may want to fill any air pockets and round edges on the cake with small pieces of marzipan after glazing. This allows the final fondant coat to appear smoother like a crumbcoat when using butter cream. 


Roll out the marzipan to 2mm thickness, you want lots of overflow for an easy placement. I use the bottom of the cake pan to measure if I have rolled out the marzipan enough. 


Place the marzipan squarely over the cake and begin to smooth down the sides with your hands, then cut off the excess around the bottom of the cake with a pizza cutter.


If you are making a cake of more than half the batter then you may wish to create the top and sides separately. Use the cake tin as a template and then pinch the marzipan to join the edges.


Leave the marzipan to dry over night before icing with the fondant. 


The marzipan should have settled into any pockets and adhered to the cake. We need to get the marzipan to adhere to the fondant, instead of jam we only need to brush the marzipan with hot water.


I find fondant a nightmare to make so I buy Wilton Decorator Preferred fondant which can be bought in most large supermarkets in the US. Knead the fondant until it is malleable and then roll out with a pastry roller dusted with confectioner's sugar. 


Flip over the cake, smooth and trim just as we did with the marzipan. Sadly my fondant smoother went missing during our last move so this isn't my tidiest work but it's easy enough to cover the lumps with decoration!


I am very fond of using these Christmas Embossing rollers which imprint a festive design into the fondant, be careful though it makes it harder to smooth the edges without disrupting the design.


For the final decorations I like to colour some of the fondant by kneading in egg colouring dyes and using cookie and pastry cutters for festive designs. 


Cut out the coloured pieces and then brush lightly with water to stick to the cake. If you've messed up the fondant this is a nice easy way to cover your mistakes!


Try a variety of cookie cutter designs and use cinnamon candy to make your holly berries.


It's fun to do a different design for every cake and they make a special table centerpiece or fancy home made gift. 


And if all of that seems like too much bother then skip the marzipan and fondant and make a good stiff lemon icing; it works great topped with halved glace cherries! 

Sunday, May 27, 2018

Recipe: Low carb bacon quiche


When eating low carb there's one thing I miss terribly and that's pastry. I had heard of people using the infamous fathead pizza dough as a low carb pastry alternative and boy howdy is it good. 

It's very versatile and handles like any wheat based pastry would. This opens a whole world of low carb cooking options that I didn't have before!


Pie Crust:


2 cups pre shredded mozzarella
3/4 cup almond meal/flour
2 tbspn cream cheese
1 egg
1/2 tspn dried rosemary
1/2 tspn garlic powder
salt and pepper to taste


Method:

  • Mix the shredded/grated cheese and almond flour/meal in a microwaveable bowl. Add the cream cheese. Microwave on HIGH for 1 minute.
  • Stir then microwave on HIGH for another 30 seconds
  • Add the egg, salt and any herbs or seasonings then mix gently
  • Place in between 2 pieces of baking parchment/paper and roll into a circular pizza shape 
  • Remove the top baking paper/parchment. 
  • If the mixture hardens and becomes difficult to work with, pop it back in the microwave for 10-20 seconds to soften again but not too long or you will cook the egg.
  • Make fork holes all over the base to ensure it cooks evenly.
  • Slide the baking paper/parchment with the pie crust, into the pie tin
  • Back on 425 for 6-10 minutes or until the top has browned. 
  • The base Doesn’t need to cook through but seal the top so the base doesn’t become soggy when the mixture is added. Put aside and let cool.

Quiche Filling:


5 eggs
2 medium brown onions or leeks
6 rashers bacon
2 tbspn butter
1 cup half and half
1 cup grated cheese - ½ cup mozzarella, ½ cup sharp cheddar


Method:

  • Preheat oven to 400F and warm while you prepare the filling
  • You can use onions or leeks depending on your carb needs, leeks are lower in carb and give a milder flavour
  • Slice the onions and put in a pan with the butter on a very low heat to sweat
  • Cut the bacon while the vegetables cook
  • Once translucent add the bacon and fry until the bacon is chewy but not crisp
  • Set asside the vegetable bacon mix while you prepare the egg batter
  • In a bowl mix half and half, eggs, salt and pepper until well combined; add the onion, bacon and cheese and fold carefully
  • Pour the mixture into the pastry shell, making sure to move the solid ingredients around to be even in the pan
  • Cover the dish with foil to avoid over burning the mixture
  • Cook with the foil on for 35 minutes then remove the foil and cook for another 5-10 minutes until the top is a golden brown. 
  • Take out of oven and let sit for 5-10 minutes to allow the egg to set properly.
  • Once cooled cut into slices and server with vegetables or a salad.
  • Due to the high fat content in the base and mixture be careful with serving size, this dish should serve 6 - 8 comfortably or 4 heartily